
 |
 |
 |
 |
 |
 |
 |
 |
 |
 |
 |
 |
 |
 |
 |
 |
 |
 |
 |
 |
 |
 |
 |
 |
 |
 |
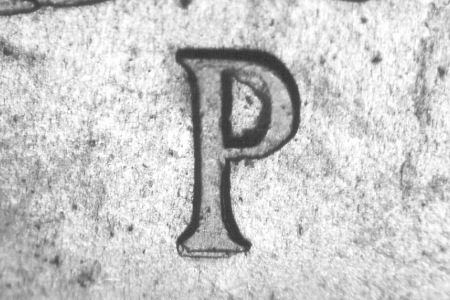
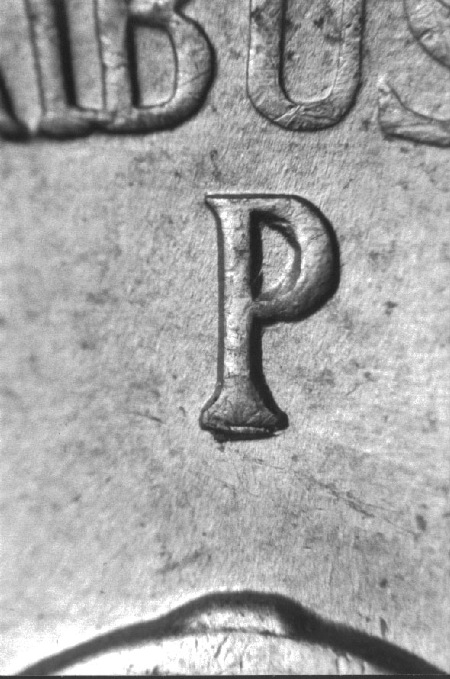
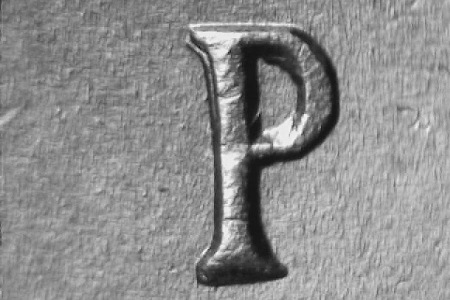
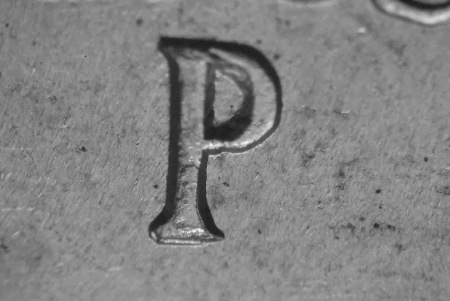
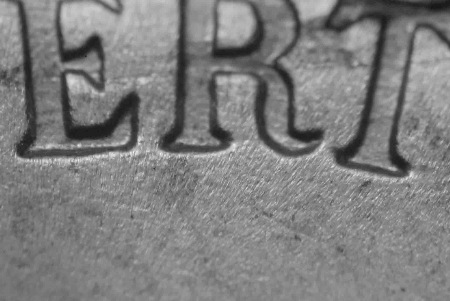
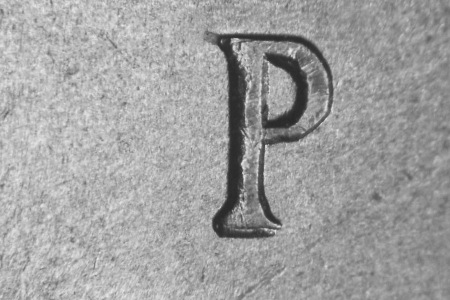
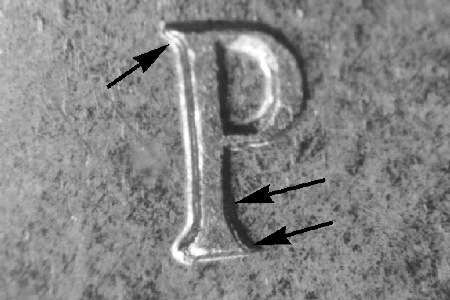
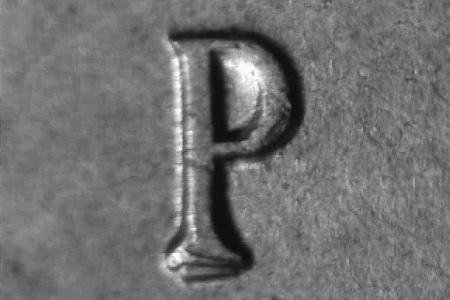
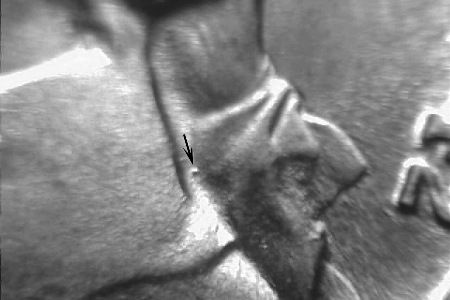
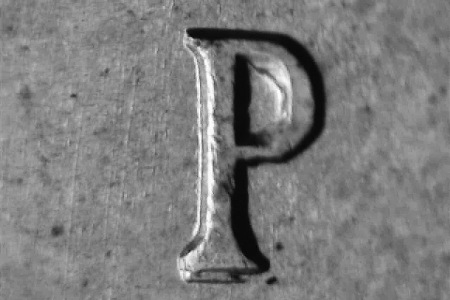
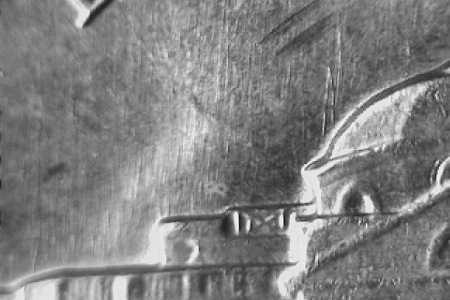
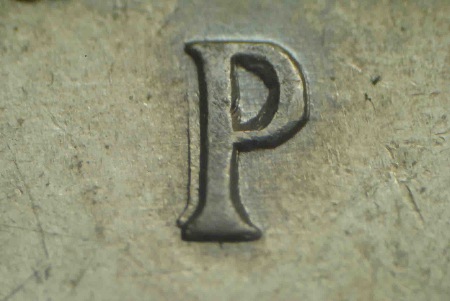
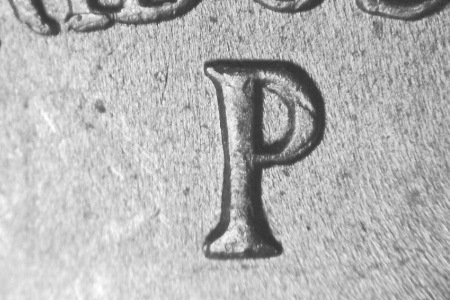
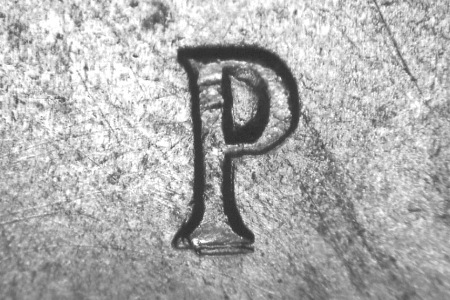
1942-P 5¢ WRPM-001 “Best Of” Variety Description: P/P/P/P West, West & South Die Markers: Obverse Stage A: Die gouge at left outside center of the E in LIBERTY. Obverse Stage B: Die gouge abraded away. Die chip centered on the upper area of the hair. Reverse Stage A: Die chips at left outside center of the last U in PLURIBUS. Small round die gouge inside the C of AMERICA left of center. Reverse Stage B: Stage A markers still present. N/S die crack on the right side of the left dome opening. Submitted By: Stage A: Tony Russo, Stage B: John Bordner Cross References: CONECA: RPM #1
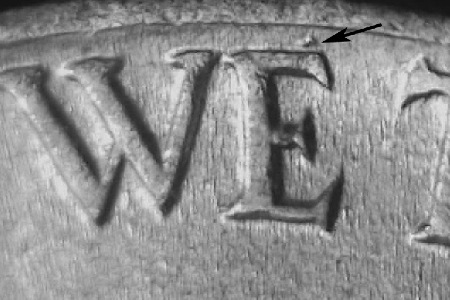
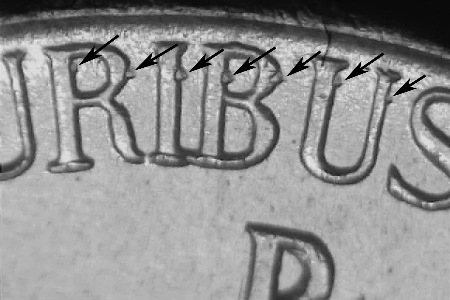
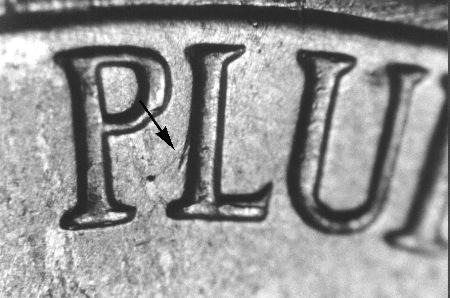
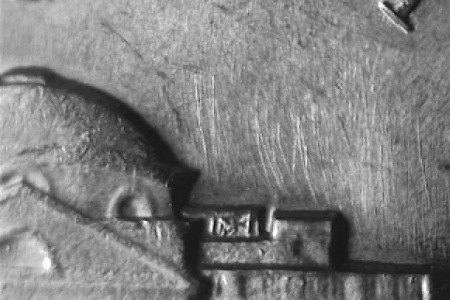
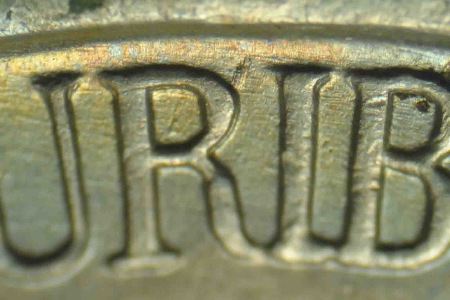
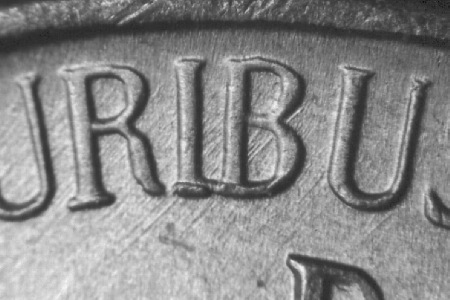
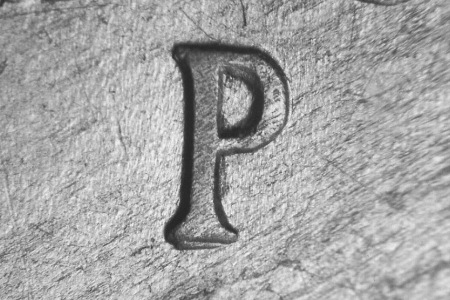
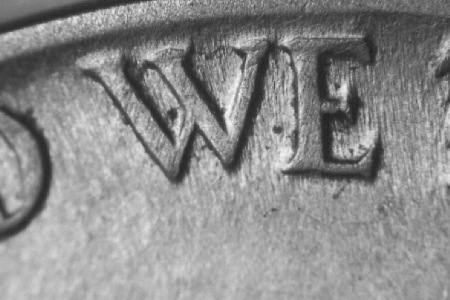
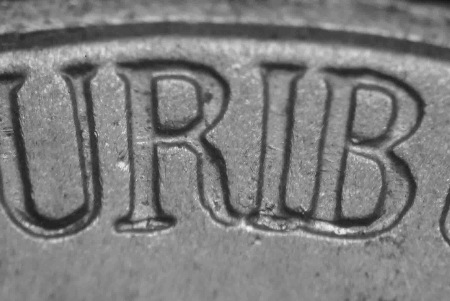
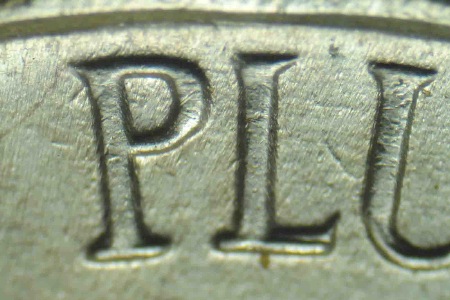
1942-P 5¢ WRPM-002 “Best Of” Variety Description: P/P/P West & South Die Markers: Obverse: A die gouge can be found above the right side of the E in WE. Reverse: A series of die gouges protrude from the upper verticals of the URIBU in PLURIBUS. Submitted By: Brian Ribar Cross References: CONECA: RPM #7
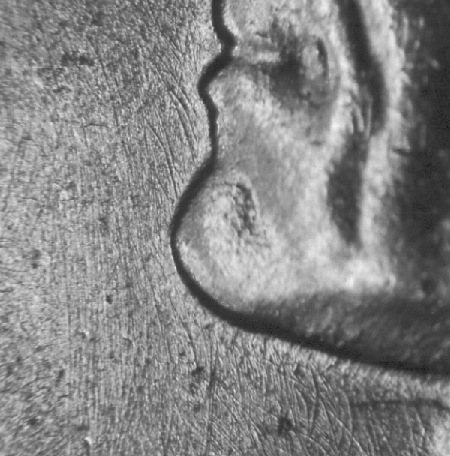
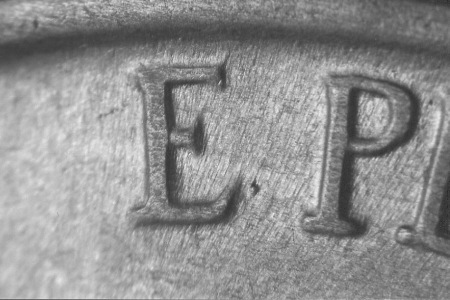
1942-P 5¢ WRPM-003 “Best Of” Variety Description: P/P East Die Markers: Obverse Stage A: None significant. Obverse Stage B: Heavy die scratches SW from the underside of the chin. Reverse Stage A: A short die scratch runs NW from the top left of the M in MONTICELLO. Reverse Stage B: Die crack south from the dome running between the third and fourth columns and through the E of MONTICELLO. Die gouge inside the lower opening of the E of EPU. Submitted By: Stage A: John A. Wexler, Stage B: Brian Ribar Cross References: CONECA: RPM #8
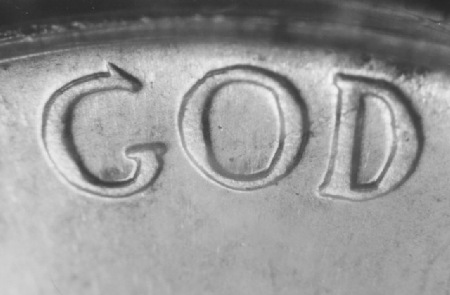
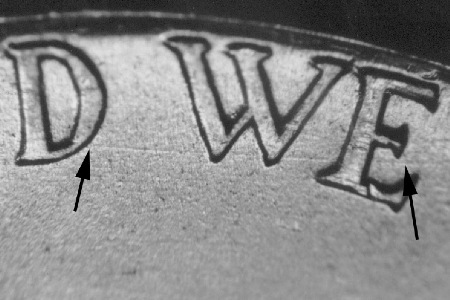
1942-P 5¢ WRPM-004 Description: P/P West Die Markers: Obverse Stage A: E/W die scratches through the BE of LIBERTY. Obverse Stage B: Stage A markers abraded away. Die gouge from the left lower side of the O in GOD. Die chip between IN GOD about one-third down from the top. Reverse Stage A: The reverse is a doubled die listed in the Wexler Doubled Die Files as 1942-P 5¢ WDDR-006. A close spread towards the center shows on EPU and USA. E/W die scratch above the E of EPU. Reverse Stage B: Stage A marker abraded away. NNW/SSE die scratch left center from the first A in AMERICA. Die scratch south from the right lower side of the O in OF. Submitted By: Stage A: John A. Wexler, Stage B: Brian Ribar Cross References: CONECA: RPM #9
1942-P 5¢ WRPM-005 Description: P/P East Die Markers: Obverse: None recorded. Reverse: Die gouge SW from left center of the vertical of the L in PLURIBUS. Light die crack west and curving down from the left roof tip. Submitted By: John A. Wexler Cross References: None known
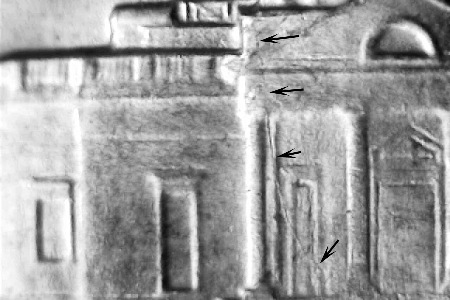
1942-P 5¢ WRPM-006 Description: P/P/P South & East Die Markers: Obverse Stage A: NNW/SSE die gouge in the hair just above the queue. Obverse Stage B: None recorded. Obverse Stage C: Short strong die gouge located between the upper area of the R and U of TRUST. Reverse Stage A: NNW/SSE die scratch in the field above the left side of the C in AMERICA. Reverse Stage B: N/S die gouge located right of the dome surrounding and above the roof. Reverse Stage C: Strong NNE/SSW die scratch combined with a series of lighter die scratches above the left upper side of the building. Submitted By: Stage A: Brian Ribar, Stage B: John A. Wexler, Stage C: John Bordner Cross References: CONECA: RPM #12
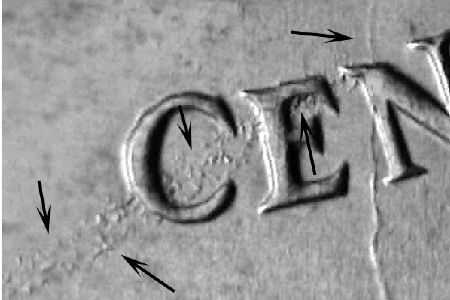
1942-P 5¢ WRPM-007 Description: P/P South Die Markers: Obverse Stage A: No prominent die markers. Obverse Stage B: No prominent die markers. Reverse Stage A: Die crack at the left side of the right dome opening running south between pillars three and four. Reverse Stage B: Die crack south from the right lower side of the second U in PLURIBUS through the right side of the mintmark. Die crack south by west from the left lower leg of the N in CENTS nearly to the O in OF. Submitted By: Stage A: Tony Russo, Stage B: John A. Wexler Cross References: CONECA: RPM #14
1942-P 5¢ WRPM-008 Description: P/P South Die Markers: Obverse Stage A: Light curling die scratch from the nose to the D of GOD. Obverse Stage B: Die scratch from the nose abraded away. Reverse Stage A: Die dot below the right side of the left small window. Reverse Stage B: Die dot still present. Die crack on the left side of the dome running south to the top of the second pillar then turning SSE to the third pillar. Submitted By: Stage A: John Bordner, Stage B: Tony Russo Cross References: CONECA: RPM #2
1942-P 5¢ WRPM-009 Description: P/P South Die Markers: Obverse: None recorded. Reverse: None recorded. Submitted By: John A. Wexler Cross References: None known
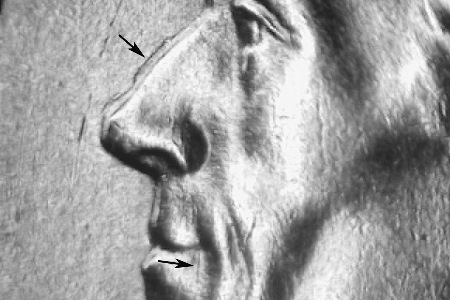
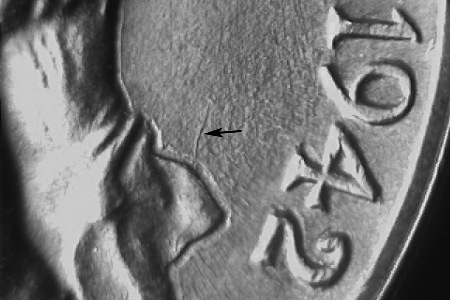
1942-P 5¢ WRPM-010 Description: P/P West Die Markers: Obverse Stage A: An unusual depression runs along the edge of the nose. A die scratch from the back of the ribbon in the queue runs north and then NE. Obverse Stage B: A SSW/NNE die crack runs through the hair near the top of the head. Obverse Stage C: The die crack through the hair is longer in both directions and now extends out to the rim. Reverse Stage A: A N/S die crack runs through the right side of the dome and down between the 3rd and 4th columns. A strong die gouge runs WSW from the bottom left side of the dome to the left porch. Reverse Stage B: Several SSW/NNE die scratches can be found above the left side of Monticello. Reverse Stage C: A die crack runs from the rim through the right side of the B in PLURIBUS and then down through the left side of the mintmark and down to the top of the dome. The die crack through the right side of the dome now extends down through the E in MONTICELLO and then between the N and T in CENTS ending at the top of the F in OF. Submitted By: Stage A: Ben Peters, Stage B & C: John Bordner Cross References: CONECA: RPM #20
1942-P 5¢ WRPM-011 Description: P/P West Die Markers: Obverse: None recorded. Reverse: Die crack south from the dome between columns three and four. Submitted By: John A. Wexler Cross References: CONECA: RPM #21 ???
1942-P 5¢ WRPM-012 Description: P/P South Die Markers: Obverse Stage A: None significant. Obverse Stage B: Same as Stage A. Reverse Stage A: A die scratch runs SW from the bottom of Monticello above the 2nd O in MONTICELLO. Reverse Stage B: Die crack south from the dome between columns three and four continuing to the right of the C in MONTICELLO through the right side of the E in CENT and out to the rim passing to the left of the O in OF. Submitted By: John A. Wexler Cross References: CONECA: RPM #23
1942-P 5¢ WRPM-013 Description: P/P South Die Markers: Obverse: No prominent die markers. Reverse: No prominent die markers. Submitted By: John Bordner (upgraded coin Tony Russo) Cross References: CONECA: RPM #28
1942-P 5¢ WRPM-014 Description: P/P South Die Markers: Obverse: Parallel die scratches run through the upper and lower 9 in the date. A die scratch runs SE from the bottom of the E in LIBERTY. Reverse: A light horizontal die scratch can be found to the left of the lower left dome. Submitted By: John A. Wexler Cross References: CONECA: RPM #26
1942-P 5¢ WRPM-015 Listing Needed Comments: The previous listing turned out to be a stage of WRPM-012. 1942-P 5¢ WRPM-016 Description: P/P South Die Markers: Obverse Stage A: Die scratch NW from the lower area of the eye. Obverse Stage B: Die scratch east from the top of the 4 in the date. Die scratch east from the top of the 2 in the date. Very light die crack in the hair running NW/SE and curving. Obverse Stage C: Stage B scratches abraded away. Die gouge in the field left from center of the W in WE. Reverse Stage A: E/W die scratch inside the right side dome window. Light groove in the field that follows the contour of the rim from 2 o’clock to 3 o’clock. Light groove along the lower letters of USA. Reverse Stage B: Scratch inside the dome window still present. N/S die scratches inside the right arch. Two die scratches west from the left side of the building, one above and one below center. Stage A groove abraded away. Reverse Stage C: Scratch inside the dome window still present. All other Stage B scratches abraded away. Die scratch N by W from the right upper side of the R in AMERICA. Submitted By: Stage A & C: Brian Ribar, Stage B: John Bordner Cross References: CONECA: RPRM #4
1942-P 5¢ Pr WRPM-017
1942-P 5¢ WRPM-018 Description: P/P South Die Markers: Obverse Stage A: Die chip (dot) centered between the collar and the ribbon of the queue. Obverse Stage B: Stage A die marker still present. Reverse Stage A: No prominent die markers. Reverse Stage B: Die chips to the lower left area of the L in PLURIBUS. N/S die crack along the right edge of the right side tall window. Submitted By: Stage A: John Bordner, Stage B: Tony Russo Cross References: CONECA: RPRM #19
1942-P 5¢ WRPM-019 Description: P/P South Die Markers: Obverse: Very short die scratch about N/S to the left center of the first T in TRUST. Reverse: Very fine N/S die scratches from both sides of the roof. Heavier die scratches above the left side of the dome and the right side of the roof that form a V-pattern. Submitted By: Brian Ribar Cross References: CONECA: RPRM #5
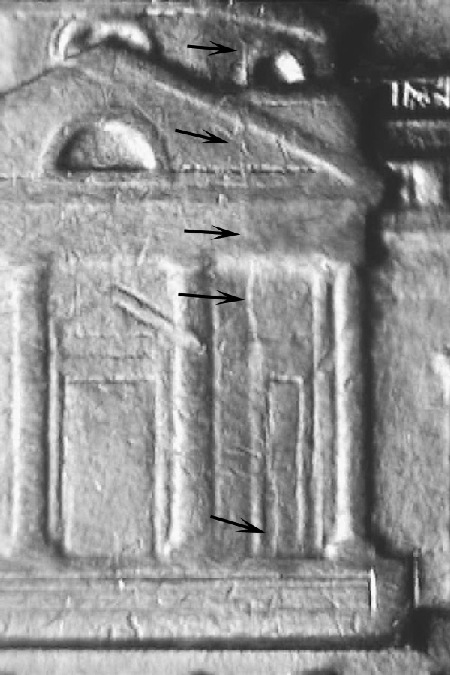
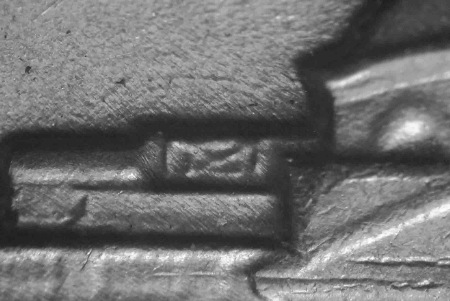
1942-P 5¢ WRPM-020 “Best Of” Variety Description: P/P West Die Markers: Obverse Stage A: E/W die scratch to the upper left center of the L in LIBERTY. E/W die scratch connecting the top of the B and E in LIBERTY. Obverse Stage B: Die scratches at LIBERTY abraded away. Reverse Stage A: Strong secondary mintmark. Die gouge at the upper right side of the R in PLURIBUS. Reverse Stage B: Weaker secondary mintmark. Die gouge at the R in PLURIBUS abraded away. N/S die scratches through the E of MONTICELLO. N/S die crack at the left side of the right dome opening. Submitted By: Stage A: Brian Ribar, Stage B: Tony Russo Cross References: CONECA: RPM #10
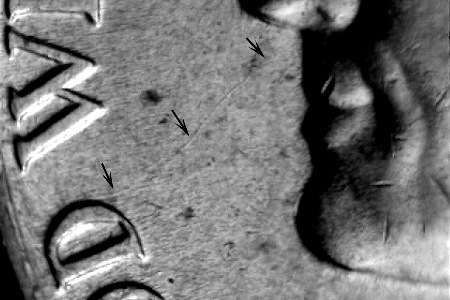
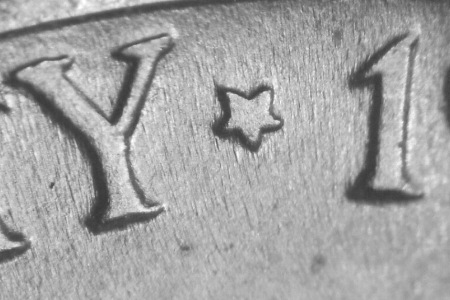
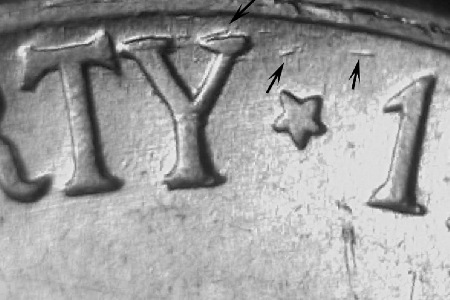
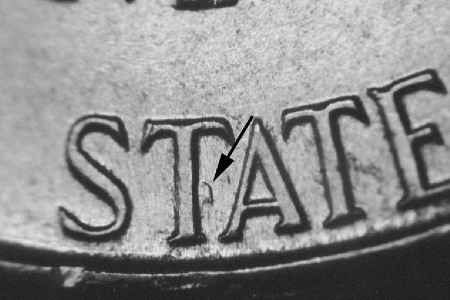
1942-P 5¢ WRPM-021 Description: P/P East Die Markers: Obverse: Die gouges below the left side of the star. Reverse: Short die scratches north from the first T in STATES. Submitted By: Brian Ribar Cross References: CONECA: RPRM #11
1942-P 5¢ WRPM-022 Description: P/P South Die Markers: Obverse: Large die chip in the field west from the upper lip. Reverse: NE/SW die scratches through the IB of PLURIBUS. NE/SW die scratches above the left side of the roof. Submitted By: Brian Ribar Cross References: CONECA: RPRM #22
1942-P 5¢ WRPM-023 Description: P/P/P Southwest & South Die Markers: Obverse Stage A: Curving N/S die scratches west and below the chin. Obverse Stage B: Stage A markers abraded away. Die gouge above right center of the 9 in the date. Reverse Stage A: Light E/W die scratches connecting the BU of PLURIBUS. Reverse Stage B: Stage A markers abraded away. N/S die gouge slightly above center, inside the U of UNITED. Submitted By: Brian Ribar Cross References: CONECA: RPRM #18
1942-P 5¢ WRPM-024 Description: P/P South Die Markers: Obverse: N/S die scratch at the lower opening of the E in WE. N/S die scratch between the W and E in WE above center. Reverse: Die gouge right of the lower horizontal bar of the E in EPU. Submitted By: Brian Ribar Cross References: CONECA: RPRM #24
1942-P 5¢ WRPM-025 Description: P/P South Die Markers: Obverse: None significant. Reverse: A small die gouge can be found to the left of the lower R in PLURIBUS. Short SW/NE die gouges can be found in the right arch. Submitted By: Brian Ribar Cross References: None known
1942-P 5¢ WRPM-026 Description: P/P/P North & South Die Markers: Obverse: Die chip inside of the G in GOD toward the left side. Reverse: Curving die scratches north from the right side of the roof. SE die scratch from the right side of the vertical bar of the mint mark. Submitted By: Brian Ribar Cross References: CONECA: RPM #15
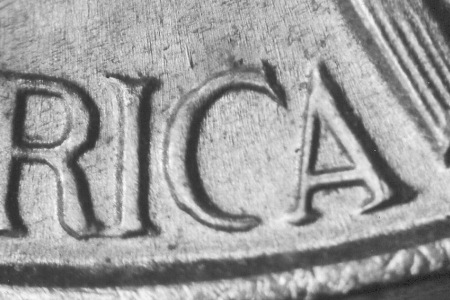
1942-P 5¢ WRPM-027 Description: P/P West Die Markers: Obverse: NNE/SSW die scratch from the back of the nose to the eye. Two WNW/ESE die scratches inside the 4 of the date. Reverse: The reverse is also a doubled die listed in the Wexler Doubled Die Files as 1942-P 5¢ WDDR-007. A close spread towards the center shows on EPU and slightly on AMERICA. Die crack from the right side of the dome running SSE between pillars three and four, through the E in MONTICELLO and to the T in CENT. Die scratch following the contour of the rim through the letters of USA and slightly below center. Submitted By: Brian Ribar Cross References: CONECA: RPM #13
1942-P 5¢ WRPM-028 Description: P/P West Die Markers: Obverse: A small die gouge (dot) can be found at Jefferson’s eye. Numerous SW/NE die scratches can be found to the left of the nose and lips. Reverse: A die clash extends north from the right roof. A die scratch runs ESE from the bottom of the E in MONTICELO to the first L. Submitted By: David Mulberry Cross References: CONECA: RPM #16
1942-P 5¢ WRPM-029 Description: P/P West Die Markers: Obverse: A small die gouge (dot) can be found at Jefferson’s eye. Numerous SW/NE die scratches can be found to the left of the nose and lips. Reverse: A die clash extends north from the right roof. A die scratch runs ESE from the bottom of the E in MONTICELO to the first L. Submitted By: David Mulberry Cross References: CONECA: RPM #3
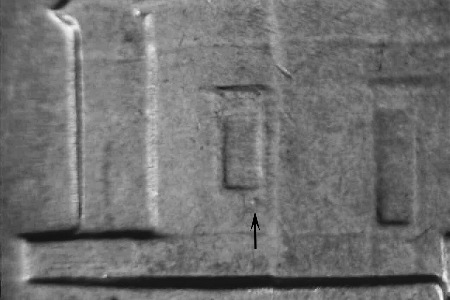
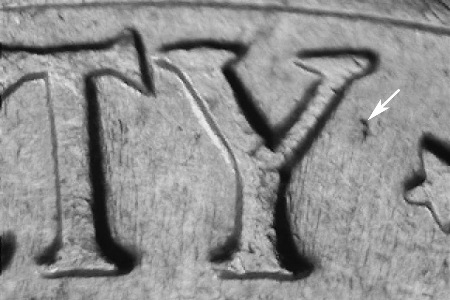
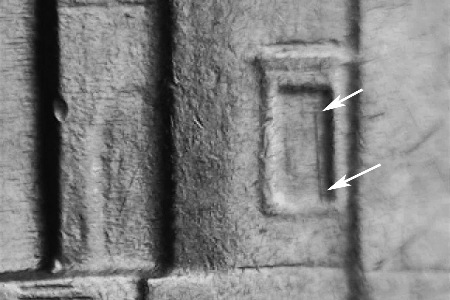
1942-P 5¢ WRPM-030 Description: P/P Southwest Die Markers: Obverse: Die chip right of the upper area of the Y in LIBERTY. Reverse: N/S die scratch through the right side of the right small window. Submitted By: Paul Funaiole Cross References: None known
1942-P 5¢ WRPM-031 Description: P/P Southeast Die Markers: Obverse: Vertical die scratches can be found to the right of the back of the head. Reverse: A short die gouge extends SW from the top left of the P in PLURIBUS. A short die scratch runs NW/SE between the L and U in PLURIBUS. Submitted By: Eric Axtell Cross References: None known
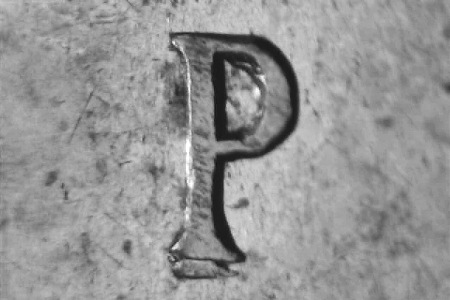
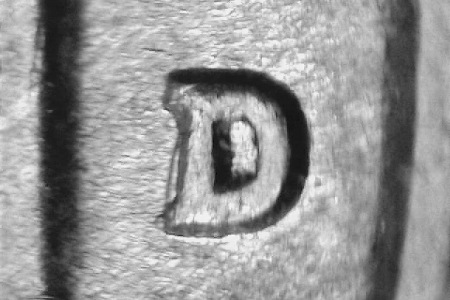
1942-D 5¢ WRPM-001 “Best Of” Variety Description: D/Horizontal D Die Markers: Obverse: A SSW/NNE die scratch can be found between the D in GOD and the chin. A long die scratch runs NNE from the top of the ribbon in the queue. Reverse: Numerous light NNW/SSE die scratches run throughout the reverse. Submitted By: Paul Funaiole Cross References: CONECA: RPM #1, Cherrypickers: FS-05-1942D-501 (027)
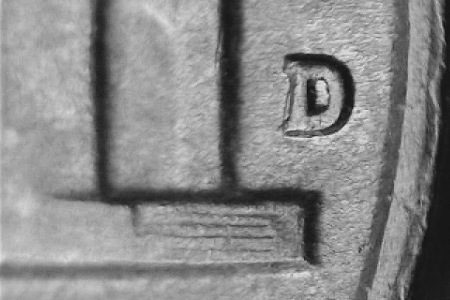
1942-D 5¢ WRPM-002 Description: D/D West Die Markers: Obverse: Light N/S die scratch left of center from the 1 in the date. Reverse: Small die gouge (dot) in the field NW of the M of MONTICELLO. Light E/W die scratches left of the die gouge. Submitted By: Anthony Dalton Cross References: CONECA: RPM #3
1942-D 5¢ WRPM-003 Description: D/D Southeast Die Markers: Obverse: Two nearly vertical die scratches can be found to the left of the chin. Reverse: A die scratch runs south from the bottom right of the M in MONTICELLO. A die scratch runs NE from the top of the first A in AMERICA. Submitted By: Eric Axtell Cross References: CONECA: RPM #2
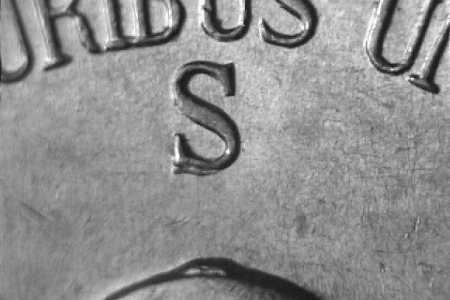
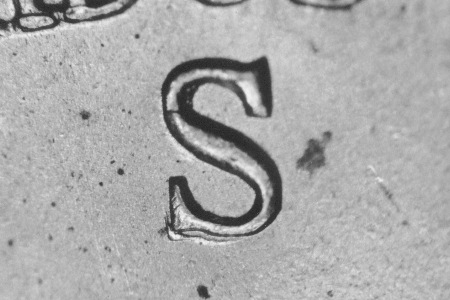
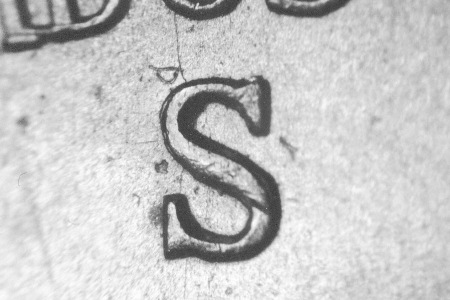
1942-S 5¢ WRPM-001 “Best Of” Variety Description: S/S/S West & West Die Markers: Obverse: Light ENE/WSW die scratches through the jacket and collar. Light N/S die scratches in front of the profile. Weak die crack SSE through the hair. Light die crack north from the rim at 6:00 and then turning east and running along the lower collar area. Reverse: Short N/S die scratch centered at the lower area of the N of MONTICELLO. Submitted By: John A. Wexler Cross References: CONECA: RPM #1
1942-S 5¢ WRPM-002
1942-S 5¢ WRPM-003 “Best Of” Variety Description: S/S Southwest Die Markers: Obverse: Die crack NE from the rim at 6:00. Die gouge above the right and to the right of the Y in LIBERTY. Reverse: Die crack beginning above the right side of the center dome opening and running SW between pillars one and two. Submitted By: John A. Wexler Cross References: CONECA: RPM #12
1942-S 5¢ WRPM-004 Description: S/S South Die Markers: Obverse Stage A: NW/SE die gouge through the U in TRUST. NW/SE die crack at the top of the head. WSW/ENE die crack along the shoulder. Series of light E/W die scratches at the top of the head. Obverse Stage B: Gouge at the U of TRUST weaker. Crack at head branches at the right side and is die chipped. Weaker scratches through the top of the head. Reverse Stage A: Die crack south from the rim at 12:00 through the second U in PLURIBUS, through the mintmark and to the top of the dome. Die gouge right center of the first T in STATES. Die crack slightly left of the third column running north to the right side of the dome. Reverse Stage B: Stage A markers still present. Die crack from the steps below the third column and running south through the C in MONTICELLO, the E in CENT and to the last S in STATES. Submitted By: Stage A: John Bordner, Stage B: Brian Ribar Cross References: CONECA: RPM #4
1942-S 5¢ WRPM-005 Description: S/S Southwest Die Markers: Obverse Stage A: Light NNW/SSE die scratches below the chin. Obverse Stage B: Stage A scratches present but weaker. Light die crack east from the front of the hair. Reverse Stage A: Light N/S die crack through the left side of the dome. Reverse Stage B: Die crack extends north trough the I of PLURIBUS to the rim and runs south to the left of column two. Weak die crack from the steps between columns three and four running south through the E of MONTICELLO, the N of CENTS and to the O in OF. Submitted By: Stage A: Brian Ribar, Stage B: John Bordner Cross References: CONECA: RPM #5
1942-S 5¢ WRPM-006
1942-S 5¢ WRPM-007
1942-S 5¢ WRPM-008
1942-S 5¢ WRPM-009
1942-S 5¢ WRPM-010
1942-S 5¢ WRPM-011
| ||